[toc]
php源码安装
1.下载源码包
php国内下载地址
export PHP_VERSION=7.3.19
wget https://mirrors.sohu.com/php/php-${PHP_VERSION}.tar.xz
php官网下载地址
wget https://www.php.net/distributions/php-${PHP_VERSION}.tar.xz
2.安装依赖包
# 安装开发者工具包
yum -y group install "Development Tools"

# 安装依赖包
yum -y install systemd-devel libacl libacl-devel libxml2 libxml2-devel curl curl-devel libjpeg libjpeg-devel libpng libpng-devel gmp-devel libxslt libxslt-devel openssl openssl-devel zlib zlib-devel pcre pcre-devel glib2 glib2-devel bzip2 bzip2-devel glibc glibc-devel liblzf liblzf-devel libzstd libzstd-devel freetype-devel readline-devel
3.解压缩包并编译安装
3.1 编译安装libzip
解决报错 configure: error: Please reinstall the libzip distribution
3.1.1 编译安装libzip需要安装高版本的cmake
# 下载源码包
wget https://github.com/Kitware/CMake/releases/download/v3.16.8/cmake-3.16.8.tar.gz

# 解压缩源码包
tar xf cmake-3.16.8.tar.gz

# 进入解压缩目录并编译安装
cd cmake-3.16.8/
./configure --prefix=/usr/local/cmake
gmake -j`nproc` && make install

# 导出PATH环境变量并使配置生效
echo 'export PATH=/usr/local/cmake/bin:$PATH' >/etc/profile.d/cmake.sh
source /etc/profile

# 验证
$ cmake --version
cmake version 3.16.8
3.1.2 编译安装libzip
# 下载源码包
wget https://libzip.org/download/libzip-1.7.1.tar.xz


# 解压缩源码包
tar xf libzip-1.7.1.tar.xz

# 进入解压缩目录并编译安装
cd libzip-1.7.1
mkdir build && cd build && cmake .. && make -j`nproc` && make install
3.2 编辑配置文件 /etc/ld.so.conf内容
解决报错configure: error: off_t undefined; check your library configuration
# 备份配置文件
cp /etc/ld.so.conf{,.bak}

# 向配置文件写入以下内容
cat >/etc/ld.so.conf <<EOF
/usr/local/lib64
/usr/local/lib
/usr/lib
/usr/lib64
EOF

# 使配置生效
ldconfig -v
3.3 解压缩包编译安装
可以使用
php -i | grep config查看php编译参数
# 创建www用户
useradd -M www -s /sbin/nologin

# 解压缩包
tar xf php-${PHP_VERSION}.tar.xz

# 进入解压后的目录
cd php-${PHP_VERSION}

# 编译安装
./configure --prefix=/usr/local/php${PHP_VERSION} \
--with-config-file-path=/usr/local/php${PHP_VERSION}/etc \
--with-fpm-user=www \
--with-fpm-group=www \
--with-fpm-systemd \
--with-fpm-acl \
--with-mysql-sock \
--with-mysqli \
--with-libxml-dir \
--with-openssl \
--with-mhash \
--with-pcre-regex \
--with-zlib \
--with-iconv \
--with-bz2 \
--with-curl \
--with-cdb \
--with-pcre-dir \
--with-gd \
--with-openssl-dir \
--with-jpeg-dir \
--with-png-dir \
--with-zlib-dir \
--with-freetype-dir \
--with-gettext \
--with-gmp \
--with-mhash \
--with-onig \
--with-pdo-mysql \
--with-zlib-dir \
--with-readline \
--with-libxml-dir \
--with-xsl \
--with-pear \
--enable-fpm \
--enable-soap \
--enable-bcmath \
--enable-calendar \
--enable-dom \
--enable-exif \
--enable-fileinfo \
--enable-filter \
--enable-ftp \
--enable-json \
--enable-mbstring \
--enable-mbregex \
--enable-mbregex-backtrack \
--enable-pdo \
--enable-session \
--enable-shmop \
--enable-simplexml \
--enable-sockets \
--enable-sysvmsg \
--enable-sysvsem \
--enable-sysvshm \
--enable-zip \
--enable-mysqlnd-compression-support &&
make -j`nproc` && make install
ubuntu16 ./configure 可能遇到的报错 configure: error: Cannot find OpenSSL's libraries,先使用命令 find / -name libssl.so 找到文件 libssl.so,然后做一下软连接即可
ln -s /usr/lib/x86_64-linux-gnu/libssl.so /usr/lib
3.4 拷贝相关文件
3.4.1 创建php安装目录软连接
ln -s /usr/local/php${PHP_VERSION}/ /usr/local/php
3.4.2 导出PATH环境变量
echo 'export PATH=/usr/local/php/bin:$PATH' >/etc/profile.d/php.sh
source /etc/profile
3.4.3 拷贝php.ini文件
cp php-${PHP_VERSION}/php.ini-development /usr/local/php/etc/php.ini
3.4.4 配置php-fpm
方式一 拷贝php-fpm文件
cp /usr/local/php/etc/php-fpm.d/www.conf.default /usr/local/php/etc/php-fpm.conf
方式二 编辑php-fpm文件
这里贴一下生产中php的配置文件
php-fpm.conf⚠️这里php启动是监听的sock文件,放在了
/tmp下,如果指定其他目录,则这个目录权限需要设置为php运行用户所有
[global]
pid = /usr/local/php72/var/run/php-fpm.pid
error_log = /usr/local/php72/var/log/php-fpm.error.log
log_level = notice

[www]
listen = /tmp/php73-cgi.sock
listen.backlog = -1
listen.allowed_clients = 127.0.0.1
listen.owner = www
listen.group = www
listen.mode = 0666
user = www
group = www
pm = dynamic
pm.max_children = 60
pm.start_servers = 30
pm.min_spare_servers = 30
pm.max_spare_servers = 60
pm.max_requests = 1024
pm.process_idle_timeout = 10s
request_terminate_timeout = 100
request_slowlog_timeout = 0
slowlog = var/log/slow.log
3.4.5 拷贝php-fpm服务文件
cp php-${PHP_VERSION}/sapi/fpm/php-fpm.service /usr/lib/systemd/system/php-fpm.service
3.4.6 启动php-fpm
方式一 使用systemd管理
systemctl daemon-reload && systemctl enable php-fpm && systemctl start php-fpm
方式二 指定配置文件直接启动
/usr/local/php/sbin/php-fpm -c /usr/local/php/etc/php.ini -y /usr/local/php/etc/php-fpm.conf -D
3.4.7 检查php-fpm启动
# php默认监听tcp/9000端口
$ netstat -ntpl|grep 9000
tcp        0      0 127.0.0.1:9000          0.0.0.0:*               LISTEN      12392/php-fpm: mast
4.结合nginx测试php-fpm功能是否正常
4.1 安装nginx并启动
# 安装nginx
yum -y install nginx

# 配置nginx以www用户运行
sed -i.bak '/^user/c user www;' /etc/nginx/nginx.conf

# 启动nginx
systemctl start nginx
4.2 编辑nginx配置文件
cat >/etc/nginx/conf.d/php-test.conf <<'EOF'
server {
        listen 80;
        server_name www.pptfz.com;
        client_max_body_size 20m;
  			root /opt;
        index index.php;

        location ~ \.php$ {
                fastcgi_pass   127.0.0.1:9000;
                fastcgi_index  index.php;
                fastcgi_param  SCRIPT_FILENAME  $document_root$fastcgi_script_name;
                include        fastcgi_params;
        }
}
EOF
4.3 重载nginx
# 检测nginx语法
$ nginx -t
nginx: the configuration file /etc/nginx/nginx.conf syntax is ok
nginx: configuration file /etc/nginx/nginx.conf test is successful

# 重载nginx
nginx -s reload
4.4 编辑php测试页面
cat >/opt/index.php <<EOF
<?php
	phpinfo();
?>
EOF
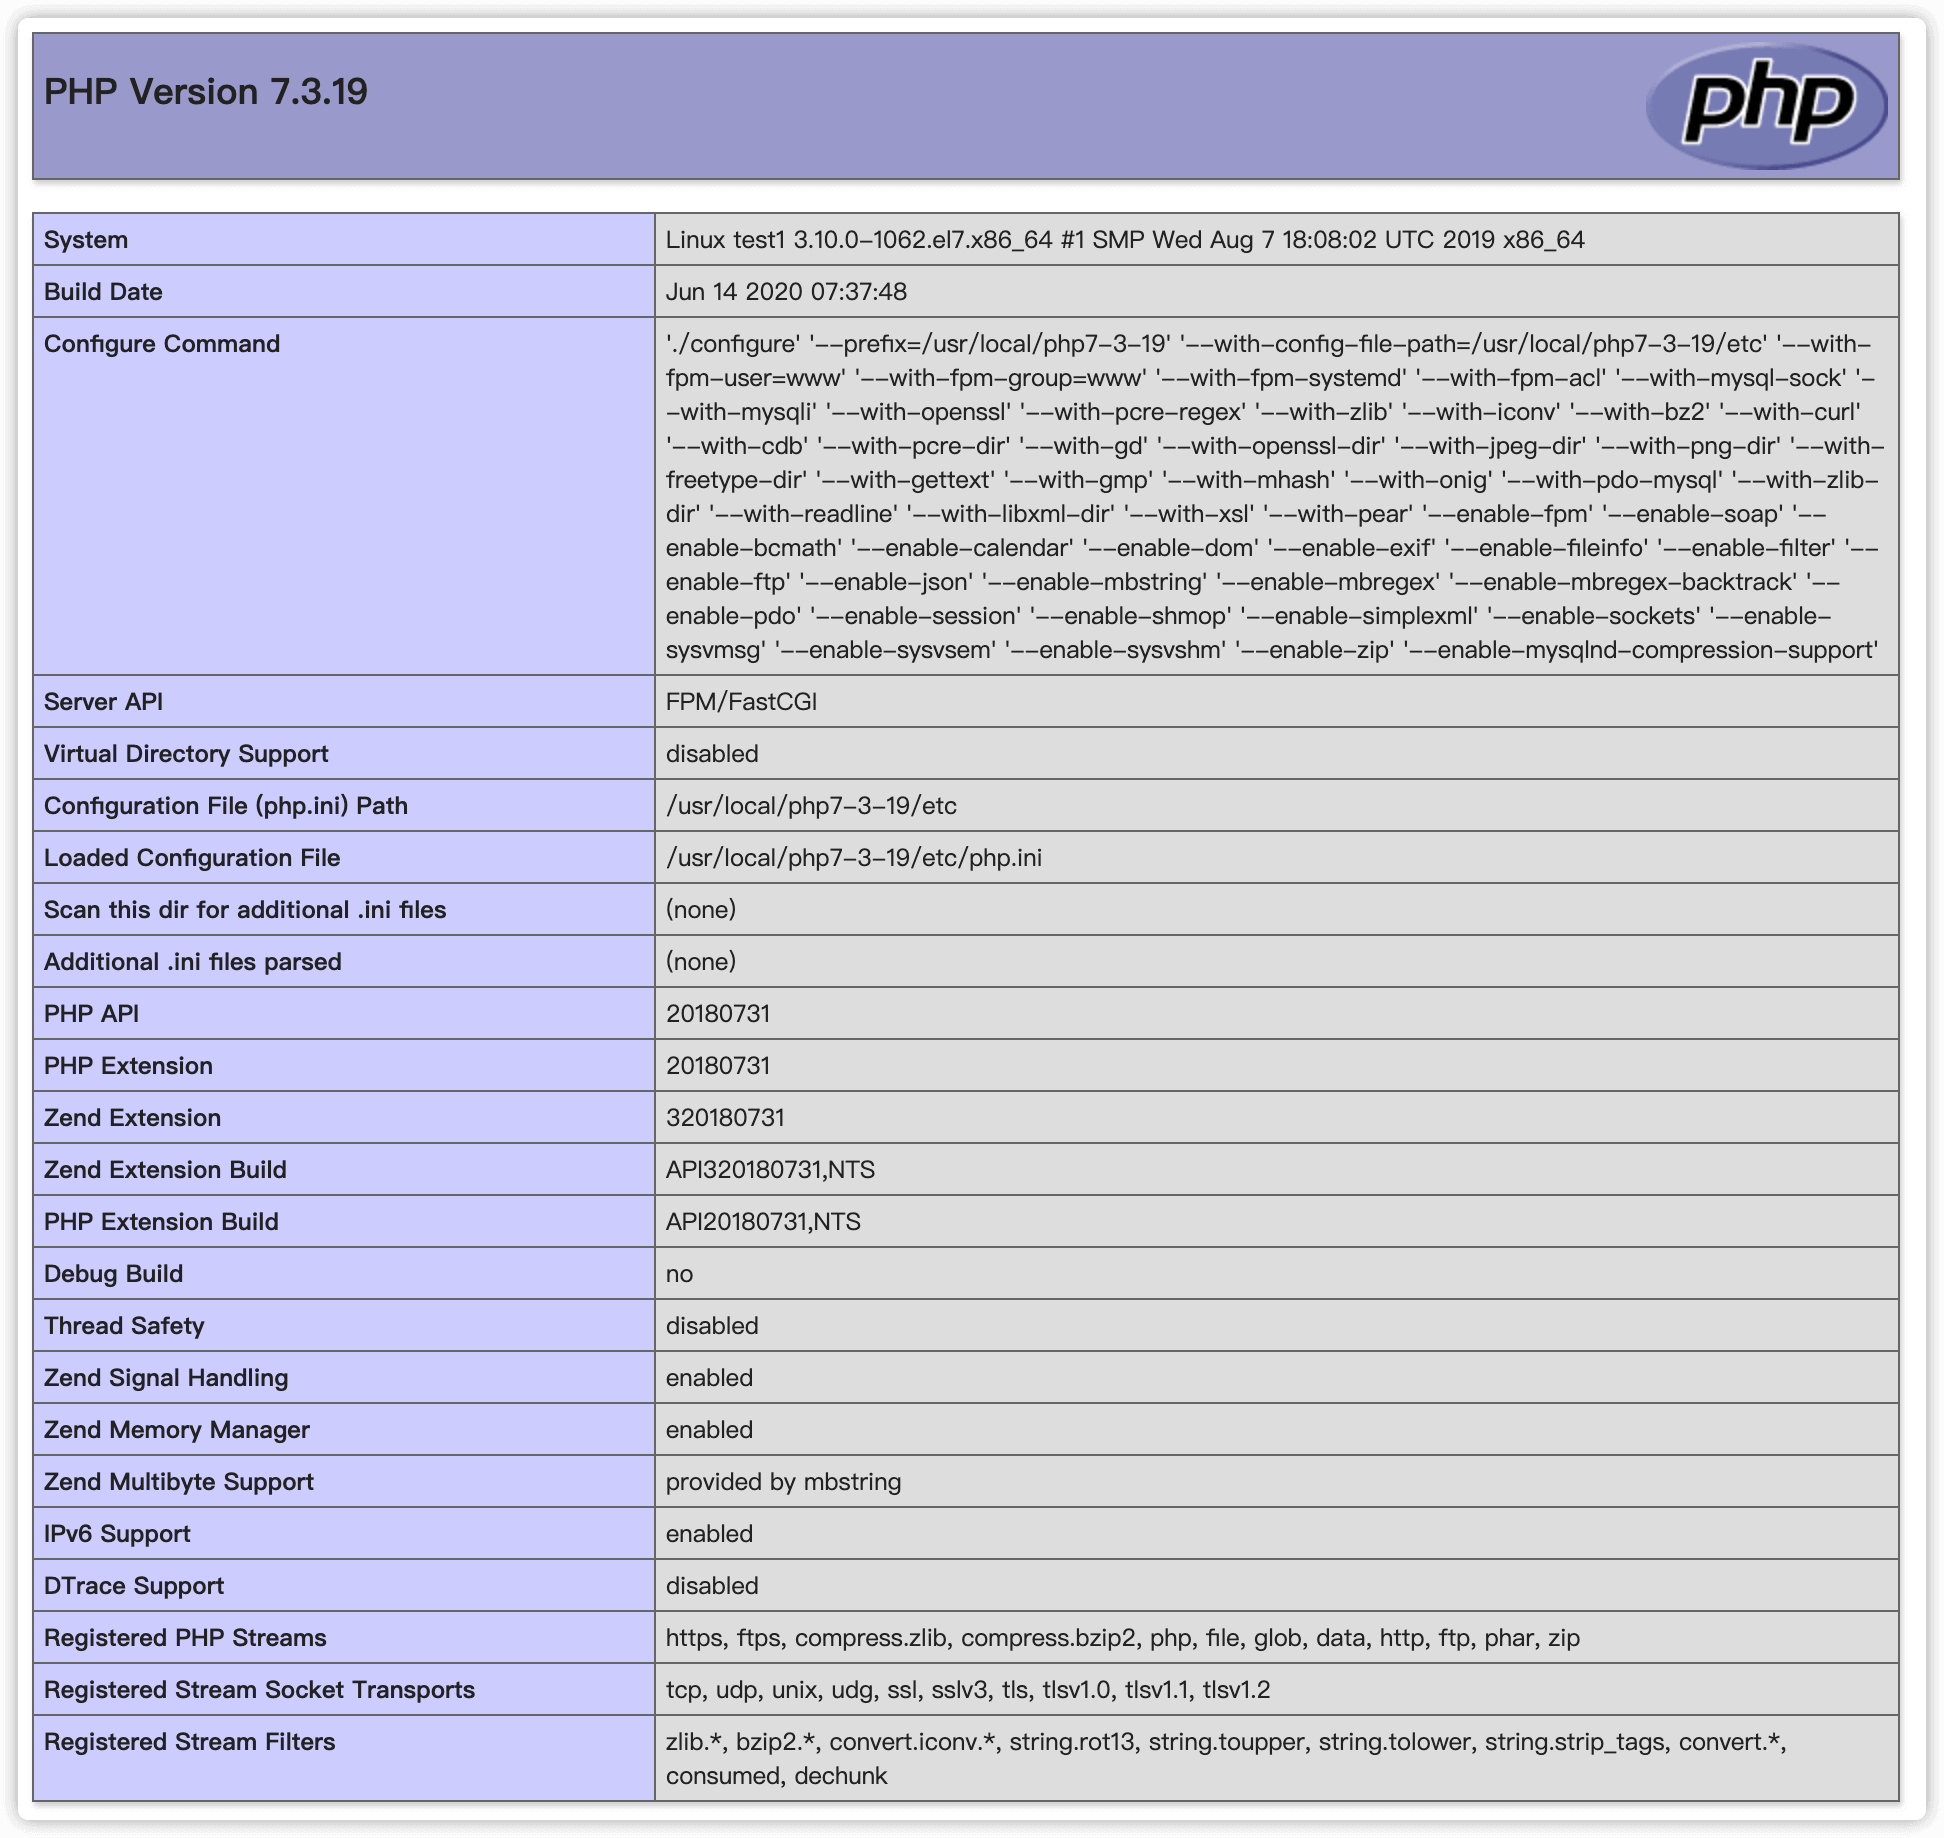
本机做hosts解析,然后浏览器直接访问域名或IP即可,因为这里配置的nginx根目录下只有一个 index.php 文件,返回结果如下即为成功

5.安装扩展(可选)
5.1 安装redis扩展
5.1.1 安装方法一 pecl安装
pecl install redis
echo "extension=redis.so" >> /usr/local/php/etc/php.ini
5.1.2 安装方法二 源码安装
5.1.2.1 下载包
cd /opt && wget https://github.com/phpredis/phpredis/archive/5.2.2.tar.gz
5.1.2.2 解压缩包并编译安装
# 解压缩包
tar xf 5.2.2.tar.gz
cd phpredis-5.2.2/

# 生成configure文件
phpize

# 编译安装
./configure --with-php-config=/usr/local/php/bin/php-config
make -j`nproc` && make install

# 配置文件中启用redis模块
echo "extension=redis.so" >> /usr/local/php/etc/php.ini
报错1
checking for igbinary includes... configure: error: Cannot find igbinary.h
解决方法
pecl install igbinary
echo "extension=igbinary.so" >> /usr/local/php/etc/php.ini
报错2
checking for msgpack includes... configure: error: Cannot find php_msgpack.h
解决方法
pecl install msgpack
echo "extension=msgpack.so" >> /usr/local/php/etc/php.ini
5.1.2.3 在php配置文件中配置redis扩展
修改
/usr/local/php/etc/php.ini,新增extension=redis.so
extension=redis.so
5.1.2.4 验证redis扩展是否安装成功
方式一
可以使用 /usr/local/php/bin/php -m |grep redis 查看redis扩展是否安装
/usr/local/php/bin/php -m |grep redis
方式二
往index.php 中写入以下内容
cat > index.php <<EOF
<?php
  phpinfo();
?>
EOF
启动php web
# -t后边必须是一个目录,并且index.php就在这个目录下
/usr/local/php/bin/php  -S 0.0.0.0:8080 -t ./
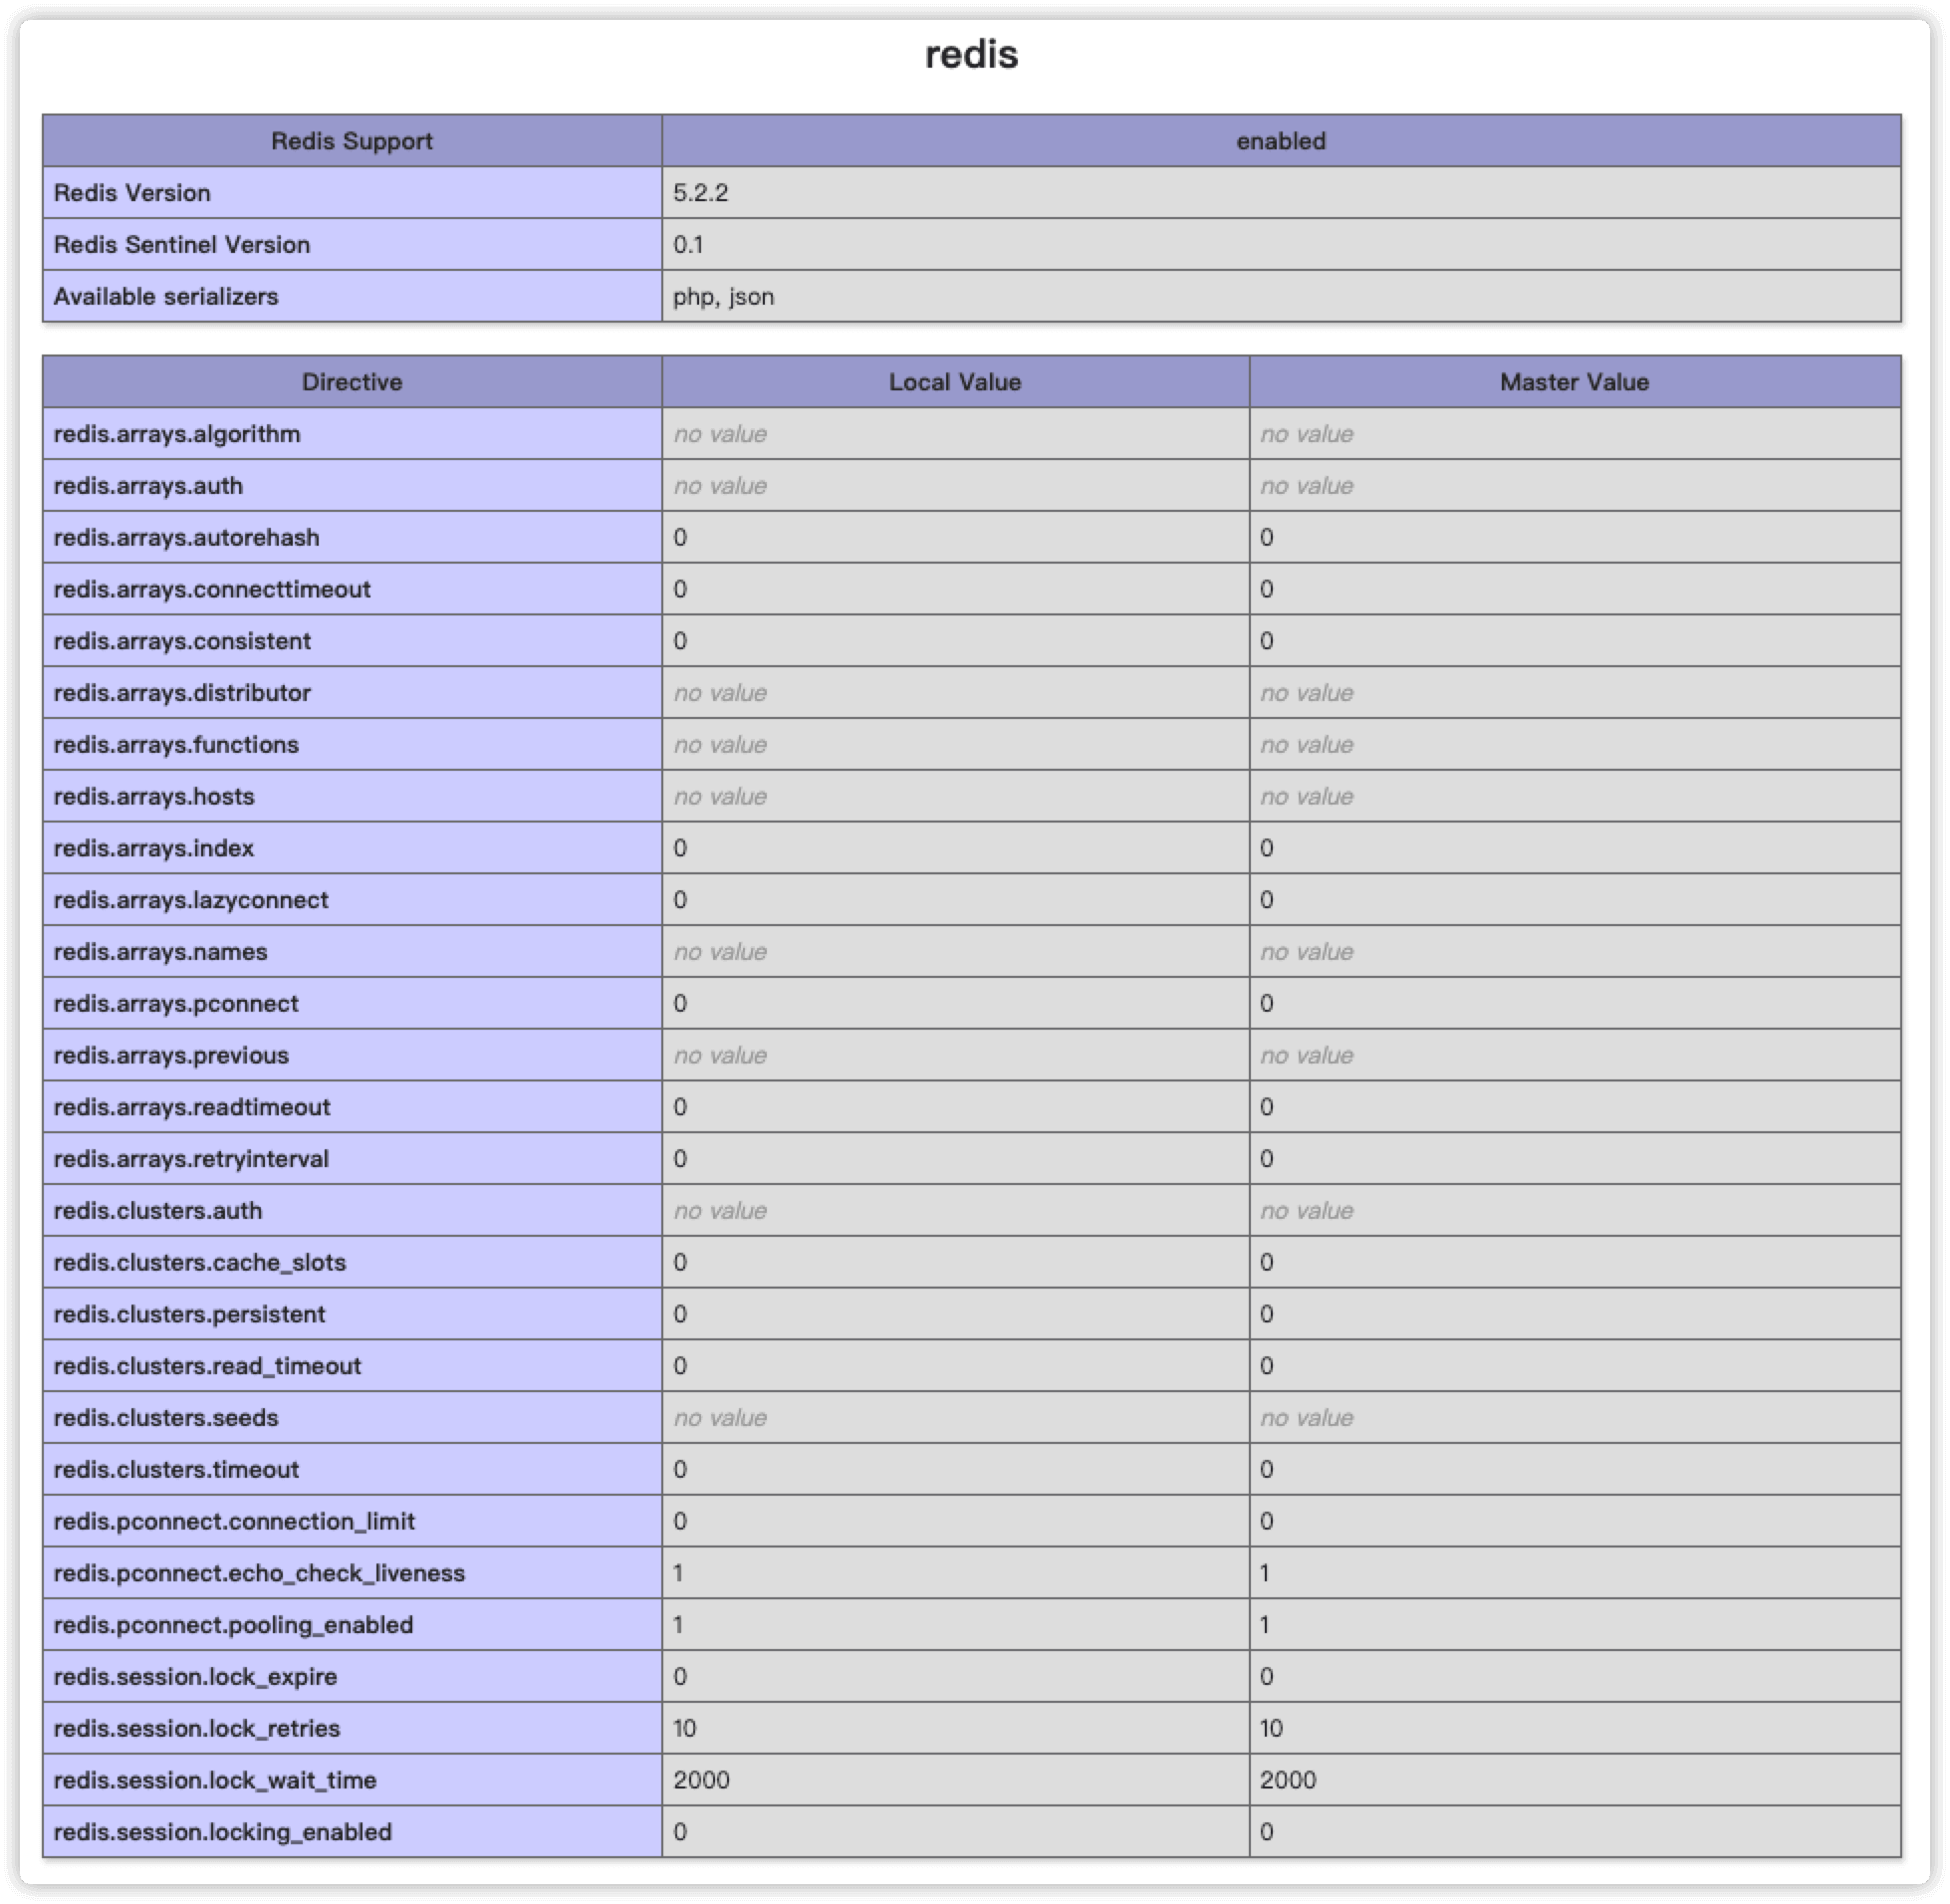
浏览器访问 IP:8080

5.2 安装mongo扩展
5.2.1 安装方法一 pecl安装
pecl install mongodb
echo "extension=mongodb.so" >> /usr/local/php/etc/php.ini
5.2.2 安装方法二 源码安装
5.2.2.1 下载包
wget https://pecl.php.net/get/mongodb-1.7.3.tgz
5.2.2.2 解压缩包并编译安装
# 解压缩包
tar xf mongodb-1.7.3.tgz
cd mongodb-1.7.3

# 生成configure文件
phpize
./configure --with-php-config=/usr/local/php/bin/php-config

# 编译安装
make -j`nproc` && make install

# 配置文件中启用mongo模块
echo "extension=mongodb.so" >> /usr/local/php/etc/php.ini
php核心配置参数列表
杂项选项
| 参数 | 说明 |
|---|---|
| --enable-debug | 编译时加入调试符号 |
| --with-layout=TYPE | 设置被安装文件的布局。TYPE 是 PHP(默认)或 GNU |
| --with-pear=DIR | 在 DIR(默认为 PREFIX/lib/php)中安装 PEAR |
| --without-pear | 不安装 PEAR |
| --enable-sigchild | 使用 PHP 自带的 SIGCHLD 处理器 |
| --disable-rpath | 禁用在搜索路径中传递其他运行库 |
| --enable-libgcc | 启用 libgcc 的精确链接 |
| --enable-php-streams | 包含试验性��的 PHP 流。不要使用此选项,除非是要测试代码 |
| --with-zlib-dir[=DIR] | 定义 zlib 的安装目录 |
| --with-tsrm-pthreads | 使用 POSIX 线程(默认) |
| --enable-shared[=PKGS] | 编译共享库 [default=yes] |
| --enable-static[=PKGS] | 编译静态库 [default=yes] |
| --enable-fast-install[=PKGS] | 为快速安装优化 [default=yes] |
| --with-gnu-ld | 假设 C 编译器使用 GNU ld [default=no] |
| --disable-libtool-lock | 避免锁死(可能破坏并联的编译) |
| --with-pic | 尝试仅使用 PIC/非 PIC 对象 [default=use both] |
| --enable-memory-limit | 编译内存限制支持功能。(自PHP 5.2.1开始不可用,默认enable) |
| --disable-url-fopen-wrapper | 禁用 URL 形式的 fopen 封装协议。该协议允许通过 HTTP 或者 FTP 访问文件。 (自PHP5.2.5开始不可用) |
| --enable-versioning | 仅导出必须的符号。查看 INSTALL 文件以获得更多信息 |
php选项
| 参数 | 说明 |
|---|---|
| --enable-maintainer-mode | 对偶然安装一下的情形启用此选项,使得不检查编译规则和依赖关系 |
| --with-config-file-path=PATH | 设置 php.ini 的搜索路径。默认为 PREFIX/lib |
| --disable-short-tags | 默认禁用短形式的开始标签 <? |
| --with-libdir | 指定Uxin系统库文件目录用于构建 PHP。 对于64位系统, 需要指定 lib64 目录,比如*--with-libdir=lib64* |
SAPI选项
下面的列表包含 PHP 可用的SAPI(服务器应用编程接口)
| 参数 | 说明 |
|---|---|
| --with-aolserver=DIR | 指定 AOLserver 的安装路径 |
| --with-apxs[=FILE] | 编译共享的 Apache 模块。FILE 是可选的 Apache apxs 工具的路径,默认指向 apxs。请确认指定的 apxs 已经安装在服务器中,并且它不是 Apache 源码包中的那个 apxs |
| --with-apache[=DIR] | 编译静态 Apache 模块。DIR 是 Apache 编译目录的顶层,默认为 /usr/local/apache |
| --with-mod_charset | 启用 mod_charset 的转换表(俄文的 Apache 使用) |
| --with-apxs2[=FILE] | 编译共享的 Apache 2.0 模块。FILE 是可选的 Apache apxs 工具的路径,默认指向 apxs |
| --with-caudium=DIR | 为使用 Caudium 编译 PHP 为一个 Pike 模块。DIR 是 Caudium 服务器目录,默认为 /usr/local/caudium/server |
| --disable-cli | PHP 4.3.0 之后的版本有效。禁止编译 PHP 的 CLI 版本(使用它将同时强制使用 --without-pear 选项)。更多信息请查考 PHP 的命令行模式 |
| --enable-embed[=TYPE] | 启用编译嵌入的 SAPI 库。TYPE 或者为 shared 或者为 static,默认为 shared。PHP 4.3.0 之后的版本有效 |
| --with-fhttpd[=DIR] | 编译 fhttpd 模块。DIR 是 fhttpd 源代码目录,默认为 /usr/local/src/fhttpd。PHP 4.3.0 及以后的版本此选项不再有效 |
| --with-isapi=DIR | 为 Zeus 服务器以 ISAPI 模块方式编译 PHP |
| --with-nsapi=DIR | 指定 Netscape/iPlanet/SunONE 的安装目录 |
| --with-phttpd=DIR | 编译PHP为phttpd模块 |
| --with-pi3web=DIR | 为 Pi3Web 服务器编译 PHP 模块 |
| --with-roxen=DIR | 以 Pike 模块方式编译 PHP。DIR 是 Roxen 的根目录,默认为 /usr/local/roxen/server |
| --enable-roxen-zts | 使用 Zend 线程安全(ZTS)编译 Roxen 模块 |
| --with-servlet[=DIR] | 包含 servlet 支持。DIR 是 JSDK 的安装目录。此 SAPI 要求 java 扩展必须作为共享模块编译到 PHP 中 |
| --with-thttpd=SRCDIR | 编译 PHP 为 thttpd 模块 |
| --with-tux=MODULEDIR | 编译 PHP 为 TUX 模块(仅在 Linux 下有效) |
| --with-webjames=SRCDIR | 编译 PHP 为 WebJames 模块(仅在 RISC 操作系统中有效) |
| --disable-cgi | 禁止编译 CGI 版本的 PHP。PHP 4.3.0 之后的版本有效,PHP5.3.0起,这个选项会启用FastCGI,而在以前,必须使用*--enable-fastcgi*启用FastCGI |
| --enable-force-cgi-redirect | 启用内部服务器重定向的安全检测。如果在 Apache 下使用 CGI 版本的 PHP,请启用该选项,PHP 5.3.0起,默认有效并不再存在。要禁用此功能,设置cgi.force_redirect ini指令为 0 |
| --enable-discard-path | 如果启用该选项,PHP CGI 目录可以安全的放在 web 目录树的外面,人们无法避开 .htaccess 的安全限制,PHP 5.3.0起,默认禁用并不在存在。要启用此功能,设置 cgi-redirect ini指令为1 |
| --enable-fastcgi | 如果启用,CGI 模块将被编译为支持 FastCGI。PHP 4.3.0 之后的版本有效,PHP 5.3.0起,此参数不再存在,并使用 --enable-cgi替代 |
| --disable-path-info-check | 如果该选项被禁用,例如 /info.php/test?a=b 形式的路径将不能工作。PHP 4.3.0 之后的版本有效。更多信息请参考 » Apache 手册 |
fpm选项
| 参数 | 说明 |
|---|---|
| --with-fpm-user | 设置 FPM 运行的用户身份(默认 - nobody) |
| --with-fpm-group | 设置 FPM 运行时的用户组(默认 - nobody) |
| --with-fpm-systemd | 启用 systemd 集成 (默认 - no) |
| --with-fpm-acl | 使用POSIX 访问控制列表 (默认 - no) 5.6.5版本起有效 |
php部分编译参数说明,更多参数使用命令./configure --help查看
| 参数 | 说明 |
|---|---|
| --prefix | php安装的路径 |
| --with-config-file-path | php配置文件路径 |
| --with-fpm-user | 设置 FPM 运行的用户身份(默认 - nobody) |
| --with-fpm-group | 设置 FPM 运行时的用户组(默认 - nobody) |
| --with-fpm-systemd | 启用systemd集成,默认为no |
| --with-fpm-acl | 使用POSIX 访问控制列表 (默认 - no) 5.6.5版本起有效 |
| --with-mysql-sock | 设置为所有MySQL扩展(包括PDO_MYSQL)的MySQL unix套接字指针的位置 |
| --with-mysqli | 支持mysql扩展 |
| --with-libxml-dir | 打开libxml2库的支持 |
| --with-openssl | openssl的支持,加密传输时用到的 |
| --with-mhash | mhash算法的扩展 |
| --with-pcre-regex | 支持perl正则表达式 |
| --with-zlib | 支持zlib库 |
| --with-iconv | 支持iconv函数,这个函数的作用就是字符编码强制转换 |
| --with-bz2 | 支持bz2文件 |
| --with-curl | 支持curl浏览工具 |
| --with-cdb | cdb库添加了cdb_make处理程序,该处理程序允许创建cdb文件并允许使用PHP的流访问网络上的cdb文件。 |
| --with-pcre-dir | perl的正则库案安装位置 |
| --with-gd | 支持gd库 |
| --with-openssl-dir | openssl安装位置 |
| --with-jpeg-dir | 支持jpeg图片 |
| --with-png-dir | 支持png图片 |
| --with-zlib-dir | 支持zlib库 |
| --with-freetype-dir | 支持freetype字体库 |
| --with-gettext | 支持gnu的gettext,编码库用到 |
| --with-gmp | 支持gnu的mp |
| --with-mhash | 支持mhash算法 |
| --with-onig | 使用外部oniguruma |
| --with-pdo-mysql | PDO_MYSQL是一个驱动程序,该驱动程序实现PHP数据对象(PDO)接口 以允许从PHP访问MySQL数据库 |
| --with-zlib-dir | zlib安装位置 |
| --with-readline | 支持readline库 |
| --with-libxml-dir | libxml2安装位置 |
| --with-xsl | 支持xsl |
| --with-pear | 支持pear |
| --enable-fpm | 允许fpm |
| --enable-soap | 支持soap,SOAP扩展可用于编写SOAP服务器和客户端 |
| --enable-bcmath | 支持用字符串表示的任意大小和精度的数字的二进制计算 |
| --enable-calendar | 支持日历转换 |
| --enable-dom | 支持dom扩展,DOM扩展使您可以通过带有PHP的DOM API对XML文档进行操作 |
| --enable-exif | 支持exif扩展,操作图像元数据 |
| --enable-fileinfo | 支持fileinfo,文件给定位置查找特定魔术字节猜测文件的内容类型以及编码 |
| --enable-filter | 支持filter,通过验证或清除数据来过滤数据 |
| --enable-ftp | 支持ftp |
| --enable-json | 支持json |
| --enable-mbstring | 支持多字节字符串 |
| --enable-mbregex | 支持多字节正则表达式 |
| --enable-pdo | 支持php数据对象 |
| --enable-session | 支持 session |
| --enable-shmop | 支持shmop,允许PHP读取、写入、创建和删除Unix共享内存段的函数集 |
| --enable-simplexml | 支持simplexml,将XML转换成一个带有一般属性选择器和数组迭代器的对象 |
| --enable-sockets | 支持socket |
| --enable-sysvmsg | 支持sysvmsg消息队列 |
| --enable-sysvsem | 支持系统V信号量 |
| --enable-sysvshm | 支持sysvshm,实现进程间通信共享内存的操作 |
| --enable-zip | 支持zip压缩 |
| --enable-mysqlnd-compression-support | 支持mysql压缩 |

