docusaurus配置algolia搜索
1.前期准备
1.1 注册algolia账号
自行登陆 algolia官网 注册账号
1.2 创建索引
注册完并且完成邮件验证后会默认创建一个 My First Application 程序
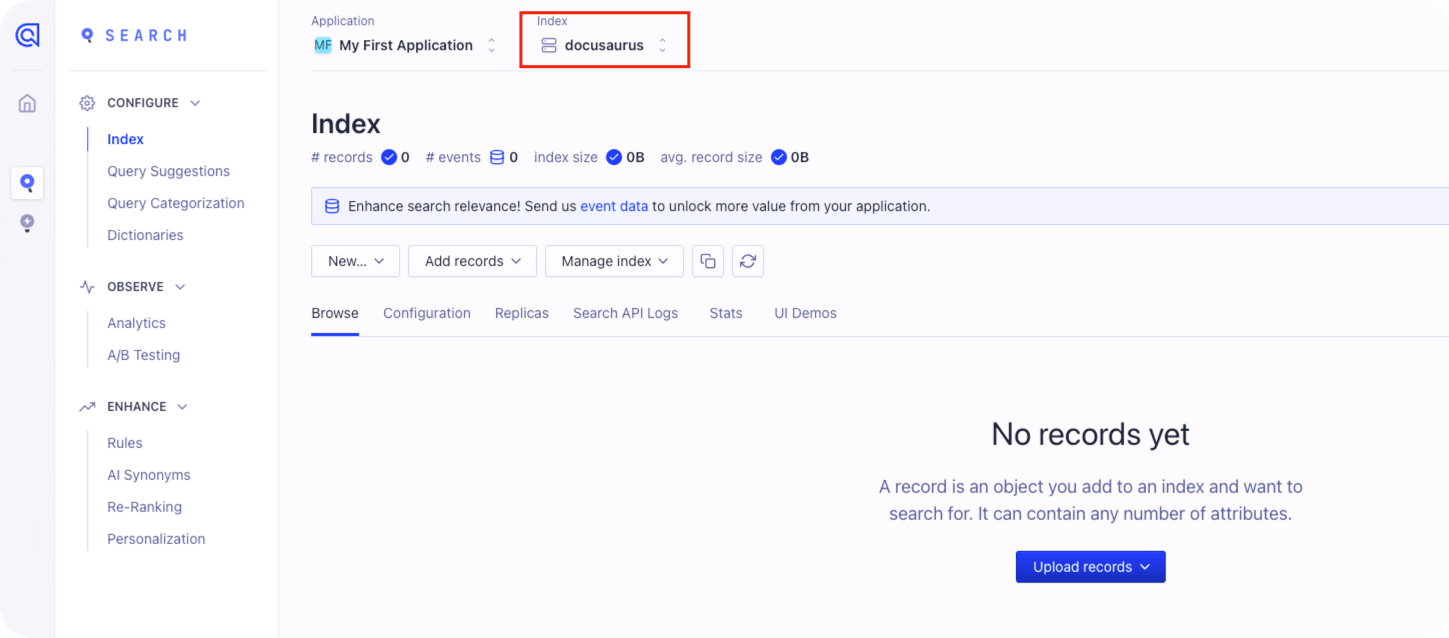
在这个 My First Application 程序下创建一个索引
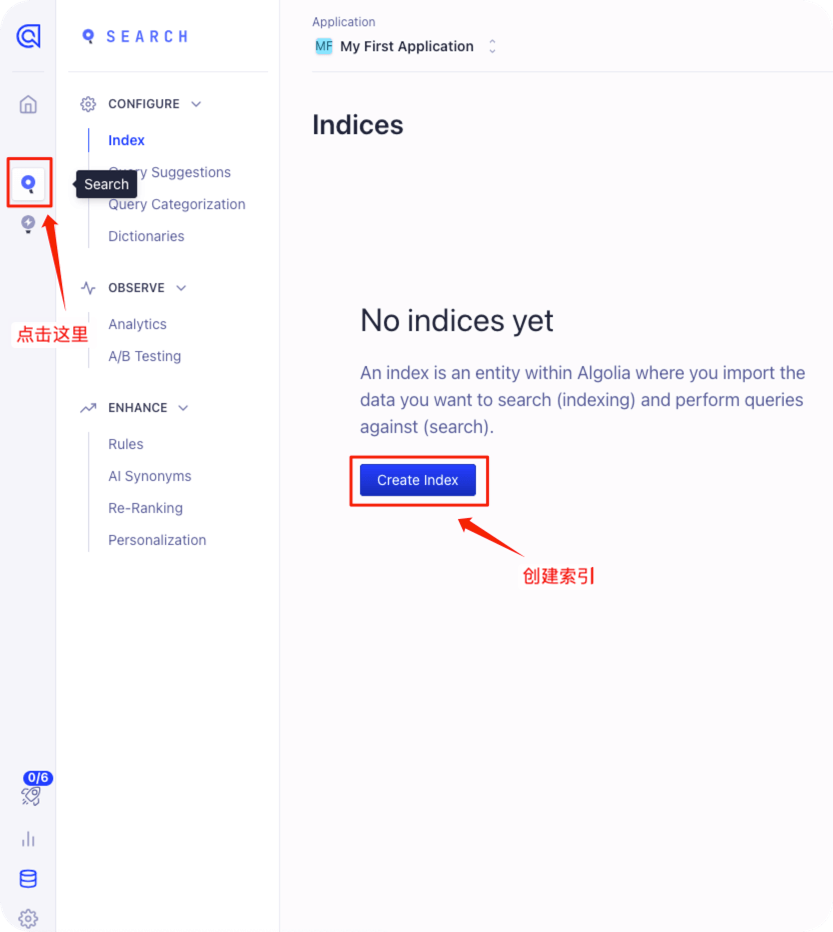
这里创建一个名为 docusaurus 的索引
1.3 获取API Key
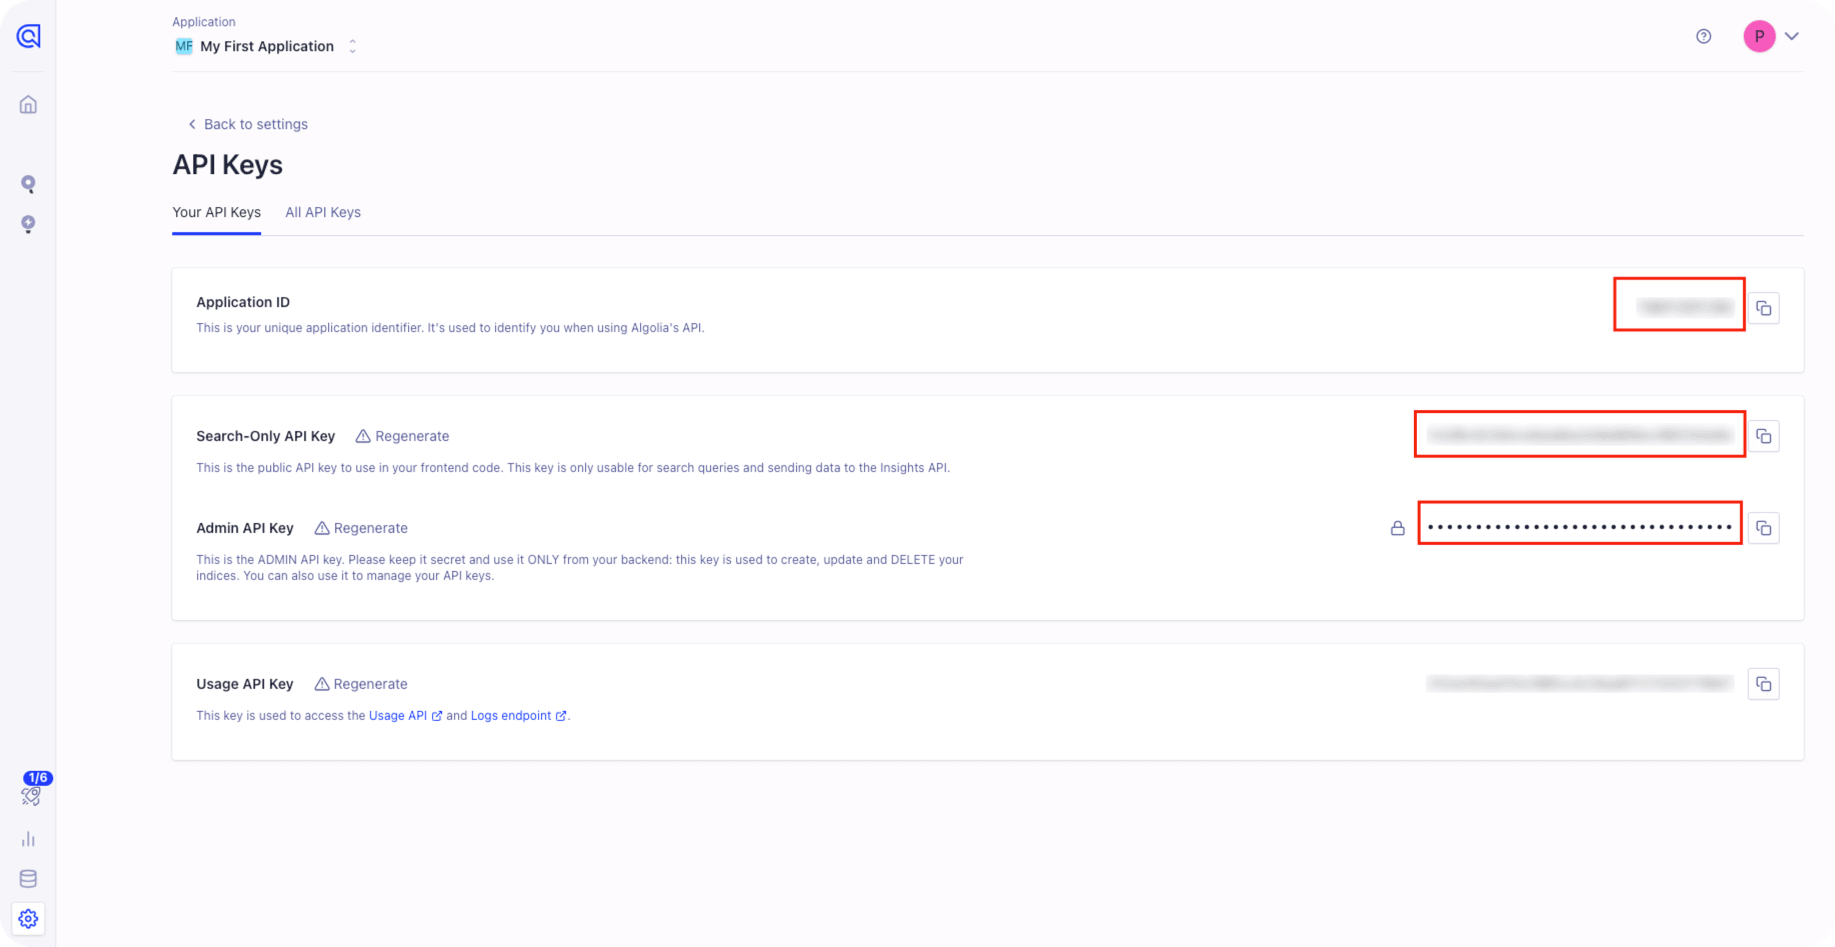
点击左下角的 Settings ,在右上角的 Team and Access 处点击下边的 API Keys
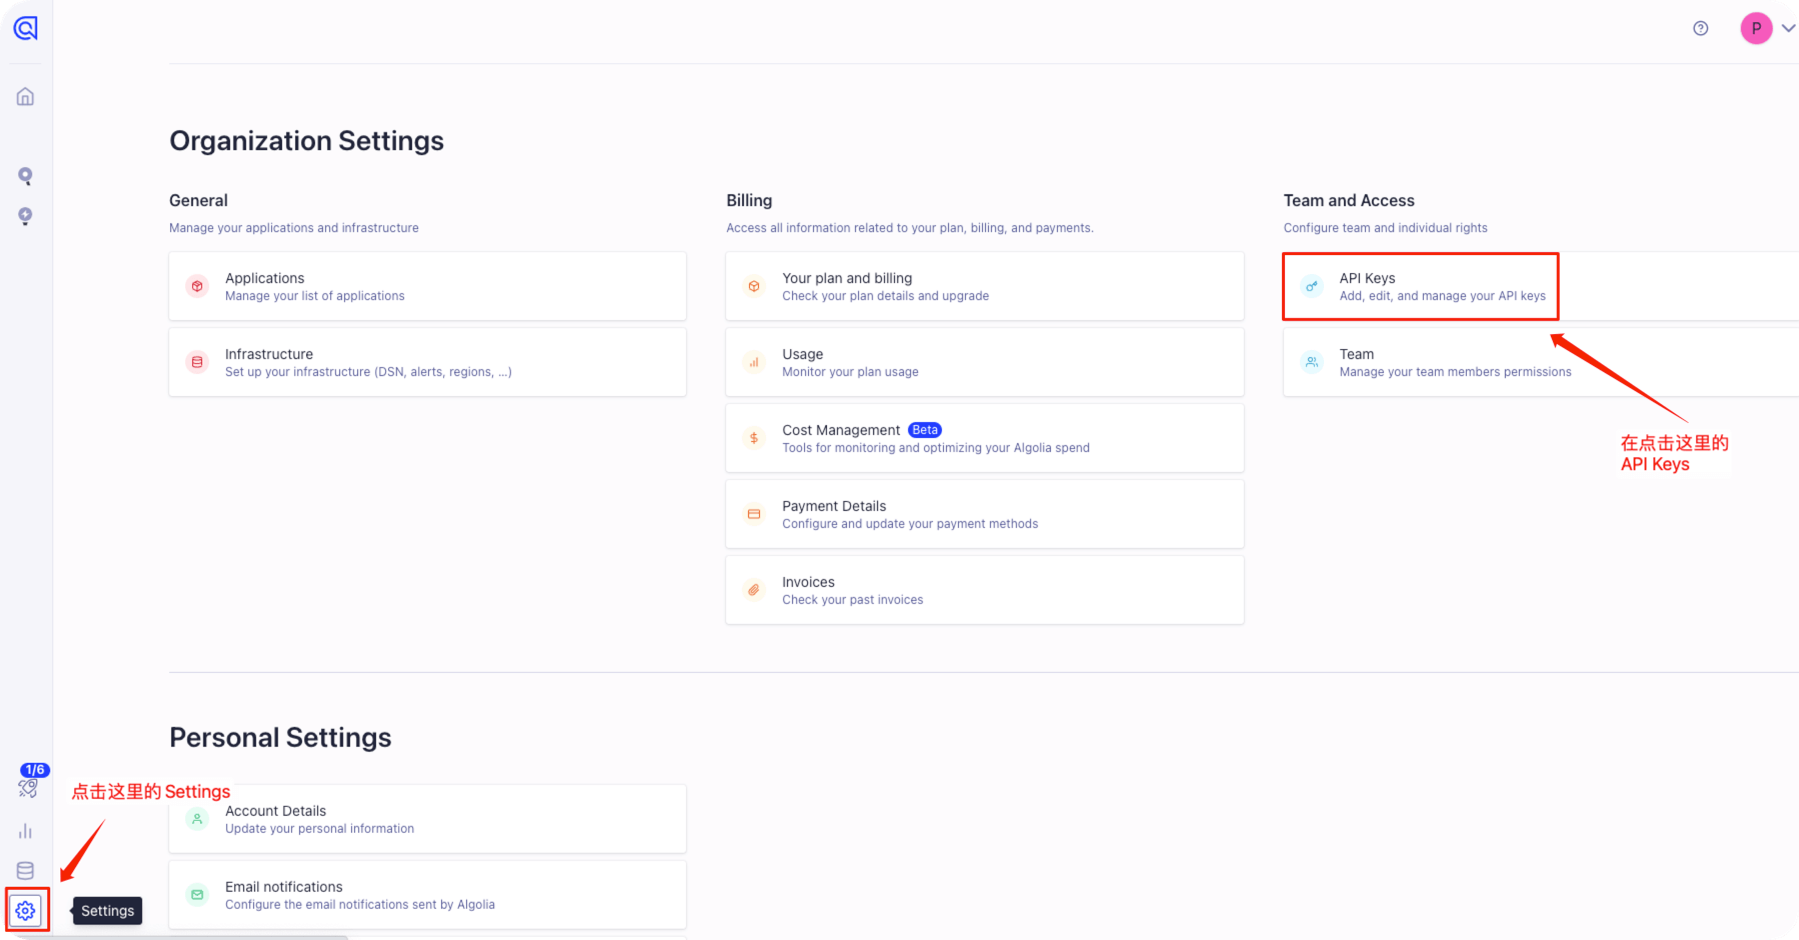
需要获取 Application ID 、Search-Only API Key 和 Admin API Key
2.安装插件
2.1 安装 algolia docsearch 插件
npm install --save @docusaurus/theme-search-algolia
2.2 安装 sitemap 插件
npm install --save @docusaurus/plugin-sitemap
3.配置 docusaurus
3.1 配置 algolia docsearch 插件
编辑 docusaurus.config.js ,填写如下配置
themeConfig:
    /** @type {import('@docusaurus/preset-classic').ThemeConfig} */
    ({
      // Replace with your project's social card
    ......
    algolia: {
        apiKey: "Search-Only API Key",
        appId: "Application ID",
        indexName: "索引名称",
    },
  ......
  }),
};
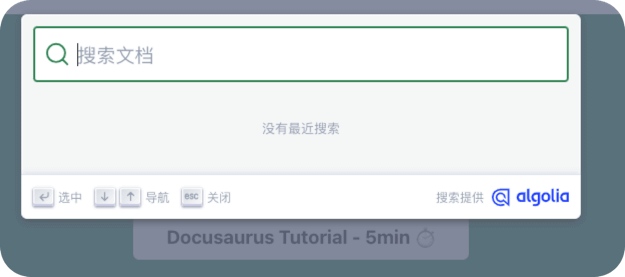
完成配置后刷新浏览器,就会看到在最右上角会出现一个搜索框
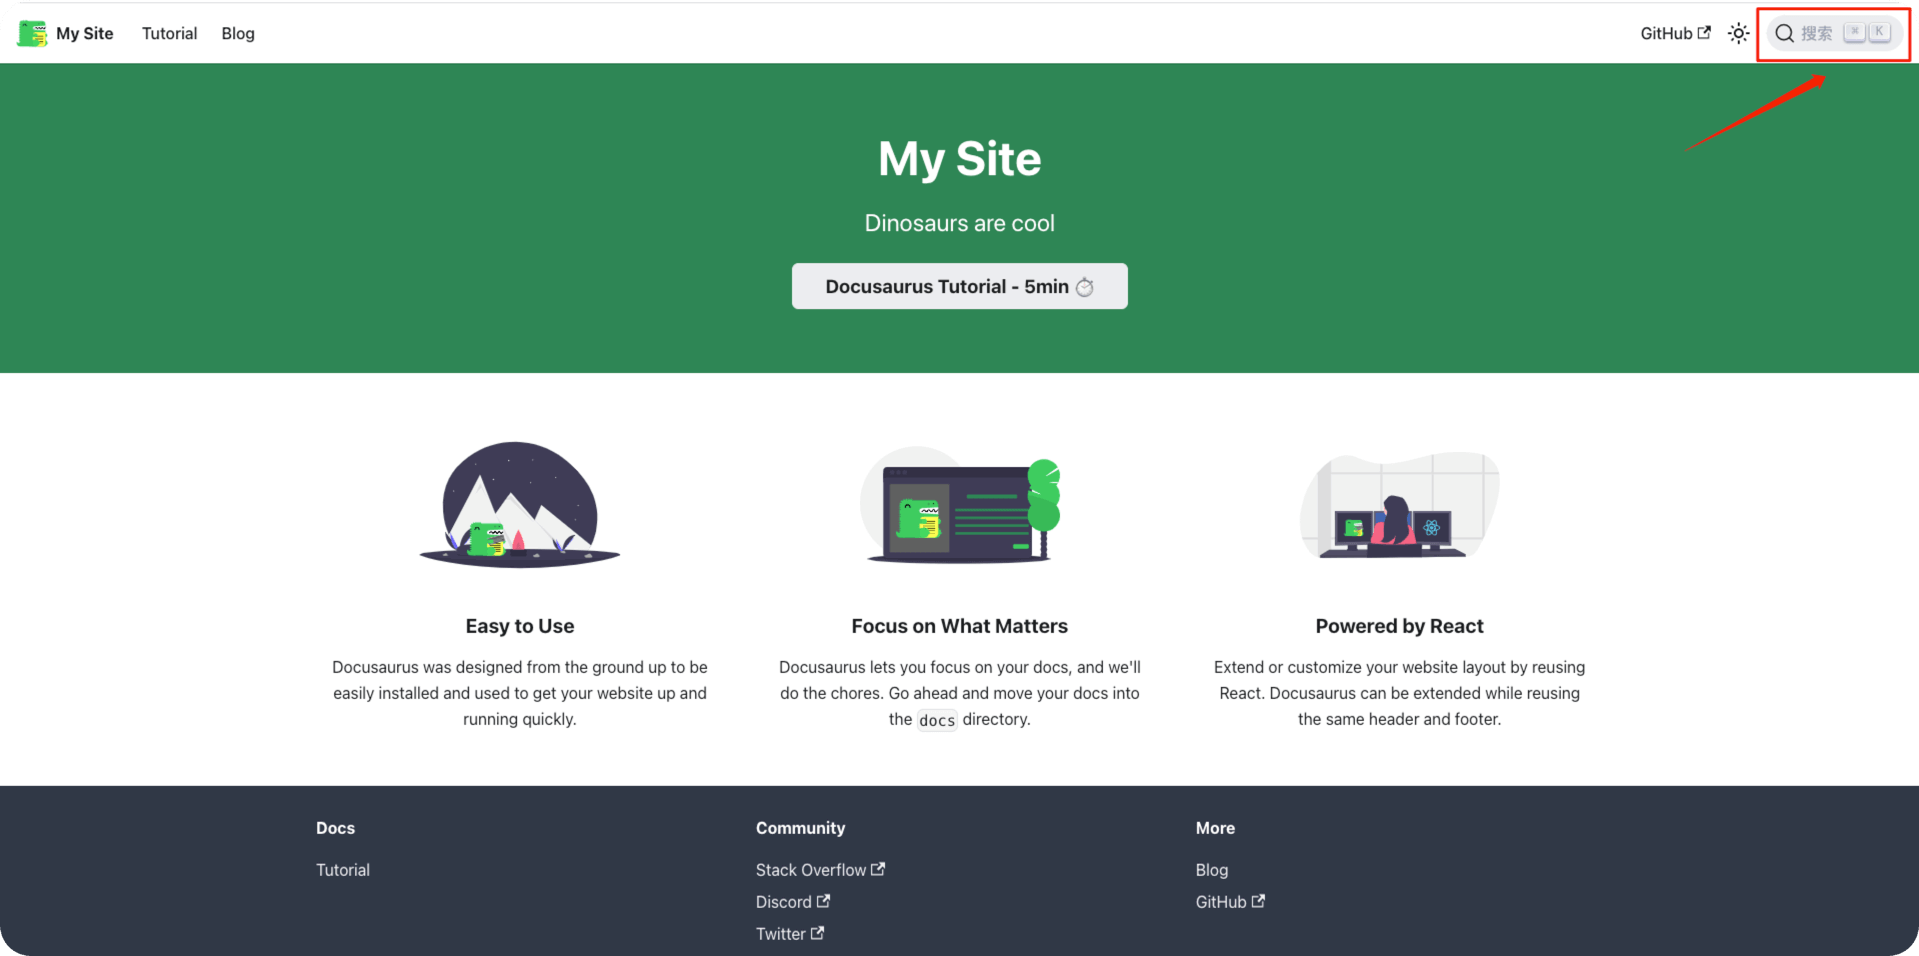
打开后效果如下
3.2 配置 sitemap 插件
编辑 docusaurus.config.js ,填写如下配置
presets: [
    [
    ...
    sitemap: {
      changefreq: 'weekly',
      priority: 0.5,
      ignorePatterns: ['/tags/**'],
      filename: 'sitemap.xml',
    },
    ...
   ],
  ],
4.推送数据
algolia官方提供2种方式
这里我们选择自行运行爬虫程序
4.1 安装依赖环境
安装docker
# 阿里云yum源
yum-config-manager --add-repo http://mirrors.aliyun.com/docker-ce/linux/centos/docker-ce.repo

yum -y install docker-ce

systemctl start docker && systemctl enable docker

# 配置阿里云镜像加速地址
cat > /etc/docker/daemon.json <<-'EOF'
{
  "registry-mirrors": ["https://gqk8w9va.mirror.aliyuncs.com"]
}
EOF

# 配置完成后重启docker
systemctl restart docker
安装jq
yum -y install jq
4.2 编辑配置文件
编辑 .env 文件
APPLICATION_ID=Application ID
API_KEY=Admin API Key
编辑 config.json 文件
说明
需要将 start_urls 和 sitemap_urls 中的 xxx.com 替换为自己的域名
需要将 index_name 中的 xxx 替换为自己的索引名称
{
  "index_name": "xxx",
  "start_urls": [
    "https://xxx.com/"
  ],
  "sitemap_urls": [
    "https://xxx.com/sitemap.xml"
  ],
  "stop_urls": [
    "/search",
    "/v3me",
    "/playground",
    "/inspector"
  ],
  "sitemap_alternate_links": true,
  "selectors": {
    "lvl0": {
      "selector": "(//ul[contains(@class,'menu__list')]//a[contains(@class, 'menu__link menu__link--sublist menu__link--active')]/text() | //nav[contains(@class, 'navbar')]//a[contains(@class, 'navbar__link--active')]/text())[last()]",
      "type": "xpath",
      "global": true,
      "default_value": "Documentation"
    },
    "lvl1": "header h1",
    "lvl2": "article h2",
    "lvl3": "article h3",
    "lvl4": "article h4",
    "lvl5": "article h5, article td:first-child",
    "lvl6": "article h6",
    "text": "article p, article li, article td:last-child"
  },
  "strip_chars": " .,;:#",
  "custom_settings": {
    "separatorsToIndex": "_",
    "attributesForFaceting": [
      "language",
      "version",
      "type",
      "docusaurus_tag"
    ],
    "attributesToRetrieve": [
      "hierarchy",
      "content",
      "anchor",
      "url",
      "url_without_anchor",
      "type"
    ]
  },
  "js_render": true,
  "nb_hits": 856
}
4.3 运行爬虫
docker run \
  --rm \
  -it \
  --env-file=.env \
  -e "CONFIG=$(cat config.json | jq -r tostring)" \
  algolia/docsearch-scraper
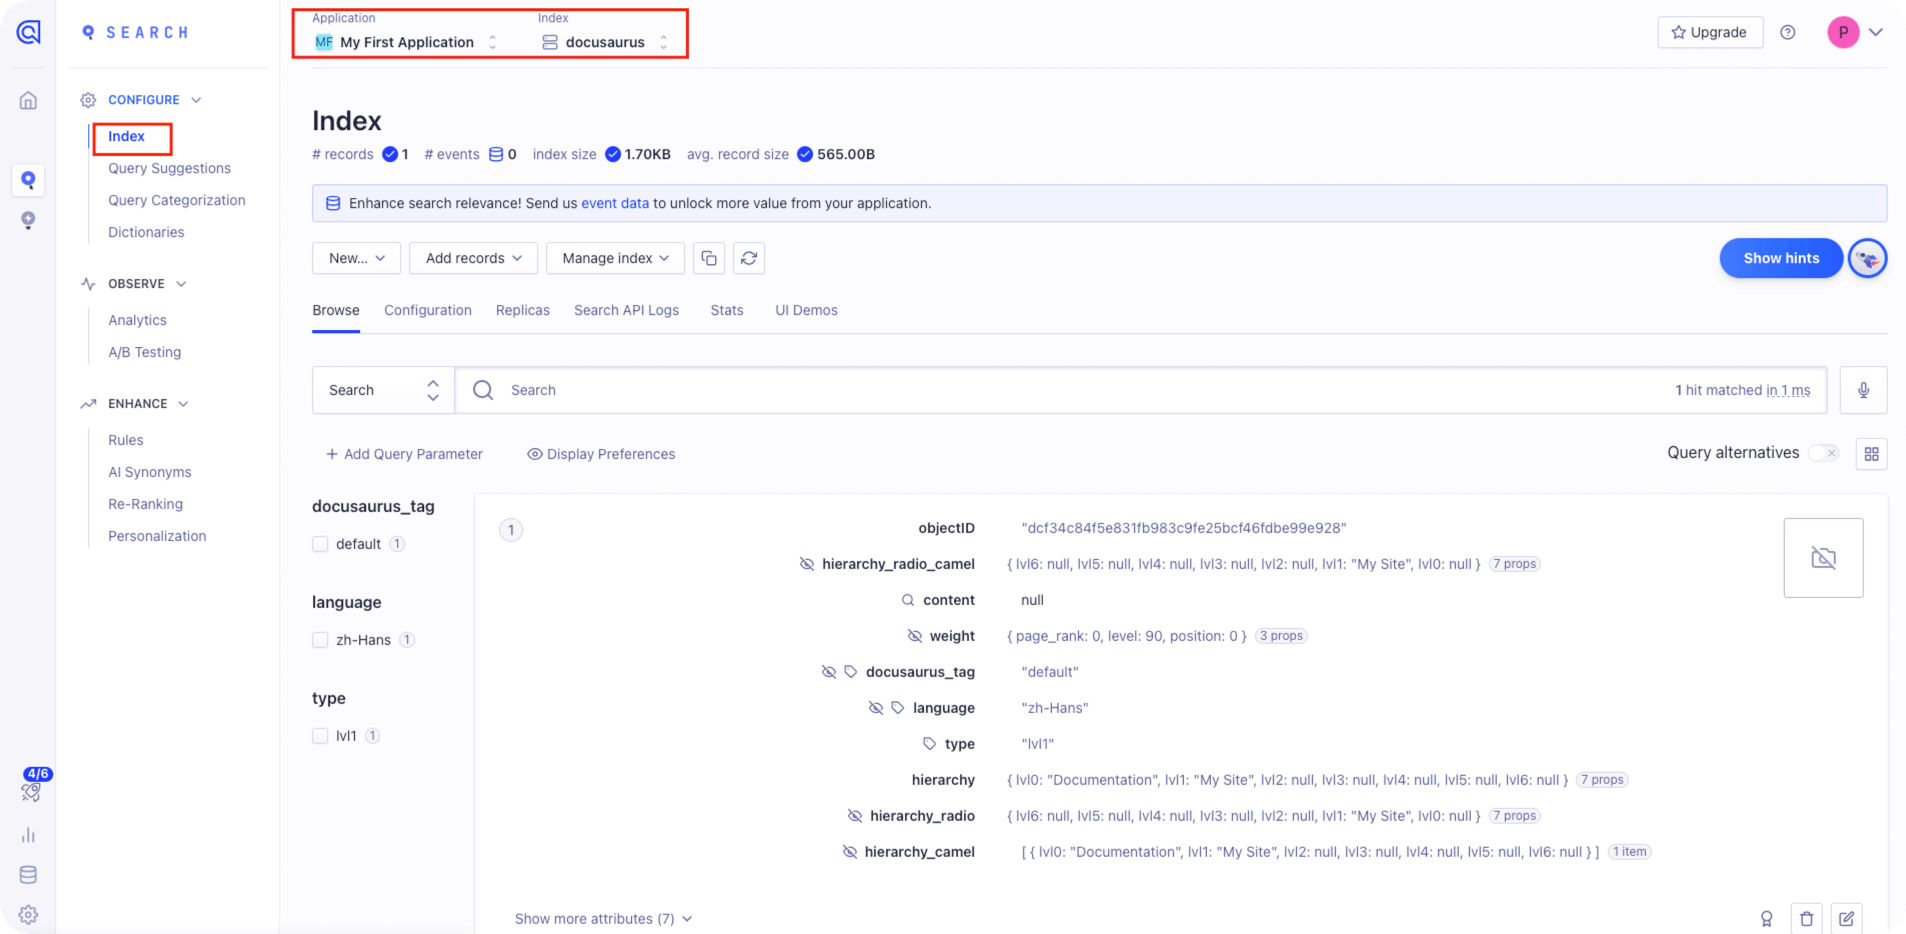
如果返回如下,说明已经爬取到记录
> DocSearch: http://xxx.com/ 1 records)

Nb hits: 1
在algolia官网中可以看到爬取的记录