[toc]
spug安装
关于Spug
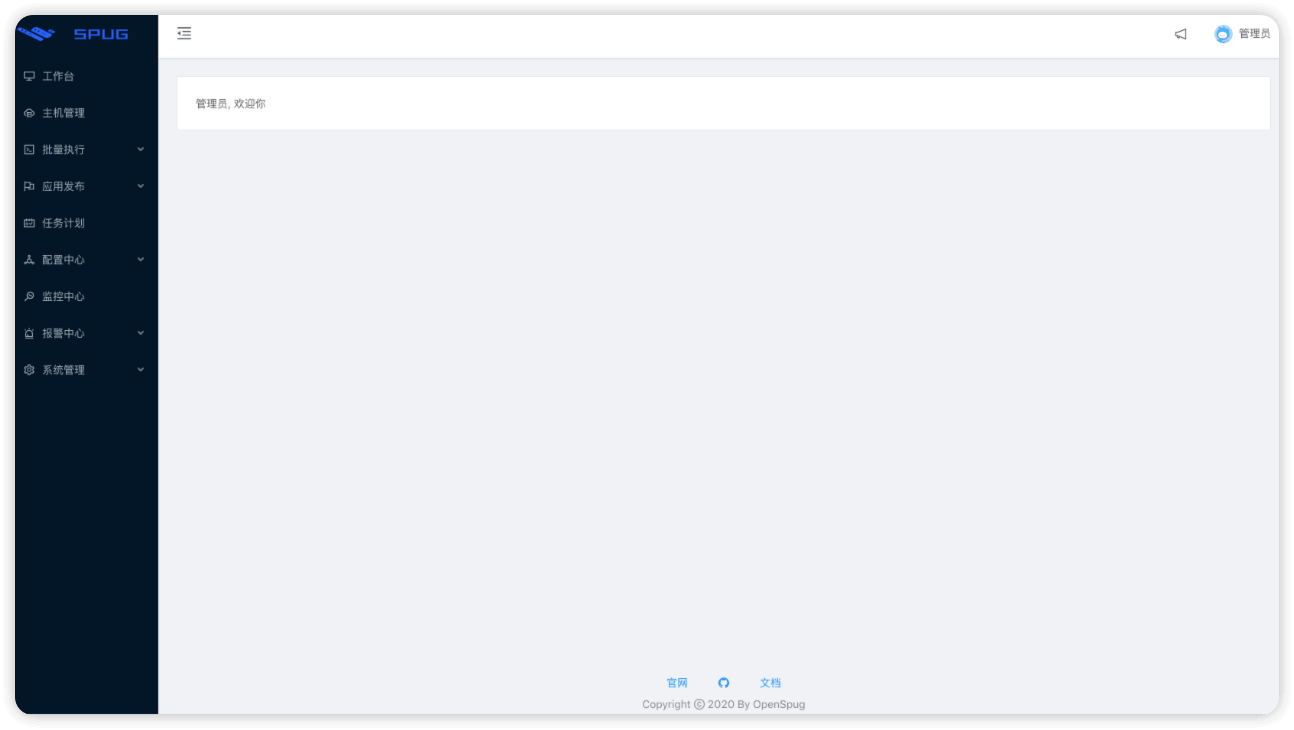
Spug 面向中小型企业设计的轻量级无 Agent 的自动化运维平台,整合了主机管理、主机批量执行、主机在线终端、文件在线上传下载、应用发布部署、在线任务计划、配置中心、监控、报警等一系列功能。
特性
- 批量执行: 主机命令在线批量执行
- 在线终端: 主机支持浏览器在线终端登录
- 文件管理: 主机文件在线上传下载
- 任务计划: 灵活的在线任务计划
- 发布部署: 支持自定义发布部署流程
- 配置中心: 支持 KV、文本、json 等格式的配置
- 监控中心: 支持站点、端口、进程、自定义等监控
- 报警中心: 支持短信、邮件、钉钉、微信等报警方式
- 优雅美观: 基于 Ant Design 的 UI 界面
- 开源免费: 前后端代码完全开源
1.docker安装
1.1 安装docker
1.1.1 下载二进制包
wget https://download.docker.com/linux/static/stable/x86_64/docker-20.10.2.tgz
1.1.2 解压缩并拷贝文件
tar xf docker-20.10.2.tgz && cp docker/* /usr/bin
1.1.3 使用systemd管理docker
Control Docker with systemd 官方文档关于使用systemd管理docker的说明
如果你是使用二进制方式安装的 docker,那么你也许需要整合 docker 到 systemd 中去。为了完成这个任务,你需要安装两个单元文件(service 和 socket)到 /etc/systemd/system 中去
Manually create the systemd unit files
When installing the binary without a package, you may want to integrate Docker with systemd. For this, install the two unit files (
serviceandsocket) from the github repository to/etc/systemd/system.
⚠️需要下载的是docker.service.rpm和docker.socket这两个文件,需要把docker.service.rpm重命名为docker.service,然后再移动到/etc/systemd/system下
wget https://github.com/moby/moby/raw/branch/branch/master/contrib/init/systemd/docker.service.rpm
wget https://github.com/moby/moby/raw/branch/branch/master/contrib/init/systemd/docker.socket
这里我们直接向文件写入内容
docker.service
cat > /etc/systemd/system/docker.service <<'EOF'
[Unit]
Description=Docker Application Container Engine
Documentation=https://docs.docker.com
After=network-online.target firewalld.service
Wants=network-online.target

[Service]
Type=notify
# the default is not to use systemd for cgroups because the delegate issues still
# exists and systemd currently does not support the cgroup feature set required
# for containers run by docker
ExecStart=/usr/bin/dockerd
ExecReload=/bin/kill -s HUP $MAINPID
# Having non-zero Limit*s causes performance problems due to accounting overhead
# in the kernel. We recommend using cgroups to do container-local accounting.
LimitNOFILE=infinity
LimitNPROC=infinity
LimitCORE=infinity
# Uncomment TasksMax if your systemd version supports it.
# Only systemd 226 and above support this version.
#TasksMax=infinity
TimeoutStartSec=0
# set delegate yes so that systemd does not reset the cgroups of docker containers
Delegate=yes
# kill only the docker process, not all processes in the cgroup
KillMode=process
# restart the docker process if it exits prematurely
Restart=on-failure
StartLimitBurst=3
StartLimitInterval=60s

[Install]
WantedBy=multi-user.target
EOF
docker.socket
cat >/etc/systemd/system/docker.socket<<EOF
[Unit]
Description=Docker Socket for the API

[Socket]
# If /var/run is not implemented as a symlink to /run, you may need to
# specify ListenStream=/var/run/docker.sock instead.
ListenStream=/run/docker.sock
SocketMode=0660
SocketUser=root
SocketGroup=docker

[Install]
WantedBy=sockets.target
EOF
linux中 /etc/systemd/system 和 /usr/lib/systemd/system 的区别
每一个 Unit(服务等) 都有一个配置文件,告诉 Systemd 怎么启动这个 Unit 。
Systemd 默认从目录 /etc/systemd/system/ 读取配置文件。
但是,里面存放的大部分文件都是符号链接,指向目录 /usr/lib/systemd/system/,真正的配置文件存放在那个目录。 systemctl enable 命令用于在上面两个目录之间,建立符号链接关系。
sudo systemctl enable clamd@scan.service

# 等同于

sudo ln -s '/usr/lib/systemd/system/clamd@scan.service' '/etc/systemd/system/multi-user.target.wants/clamd@scan.service'
1.1.4 重新加载服务并启动docker
systemctl daemon-reload
systemctl start docker && systemctl enable docker
1.1.5 配置阿里云加速
cat > /etc/docker/daemon.json <<-'EOF'
{
  "registry-mirrors": ["https://gqk8w9va.mirror.aliyuncs.com"]
}
EOF

systemctl restart docker
1.2 安装spug
1.2.1 启动容器
Docker镜像内部使用的 Mysql 数据库。
如果需要持久化存储代码和数据,可以添加:-v 映射容器内/data路径
docker run \
	-d \
	--restart=always \
	--name=spug \
	-p 8000:80 \
	-v /mydata/:/data \
	registry.aliyuncs.com/openspug/spug
1.2.2 初始化
以下操作会创建一个用户名为 admin 密码为 spug.dev 的管理员账户,可自行替换管理员账户。
# 初始化管理员账户
docker exec spug init_spug admin spug.dev

# 执行完毕后需要重启容器
docker restart spug
1.3 使用nginx反向代理spug
http配置
server {
  listen 80;
  server_name spug.test.com;

  location / {
    proxy_pass http://127.0.0.1:8000;
    proxy_set_header Host $host;
    proxy_set_header X-Real-IP $remote_addr;
    proxy_set_header X-Forwarded-For $proxy_add_x_forwarded_for;
  }

  location ^~ /api/ws/ {
    proxy_pass http://127.0.0.1:8000;
    proxy_http_version 1.1;
    proxy_set_header Upgrade $http_upgrade;
    proxy_set_header Connection "Upgrade";
    proxy_set_header X-Real-IP $remote_addr;
  }

  error_page 404 /index.html;

  access_log /var/log/spug/spug.test.com.access.log;
  error_log /var/log/spug/spug.test.com.error.log;
}
https配置
server {
  listen 80;
  server_name spug.test.com;
  return 301 https://$server_name$request_uri;
  client_max_body_size 1000m;
}

server {
  listen 443 ssl;
  server_name spug.test.com;

  location / {
    proxy_pass http://127.0.0.1:8000;
    proxy_set_header Host $host;
    proxy_set_header X-Real-IP $remote_addr;
    proxy_set_header X-Forwarded-For $proxy_add_x_forwarded_for;
  }

  location ^~ /api/ws/ {
    proxy_pass http://127.0.0.1:8000;
    proxy_http_version 1.1;
    proxy_set_header Upgrade $http_upgrade;
    proxy_set_header Connection "Upgrade";
    proxy_set_header X-Real-IP $remote_addr;
  }

  error_page 404 /index.html;

  access_log /var/log/spug/spug.test.com.access.log;
  error_log /var/log/spug/spug.test.com.error.log;
  ssl_certificate ssl_key/spug/1_spug.test.com_bundle.crt;
  ssl_certificate_key ssl_key/spug/2_spug.test.com.key;
  ssl_protocols TLSv1 TLSv1.1 TLSv1.2;
}
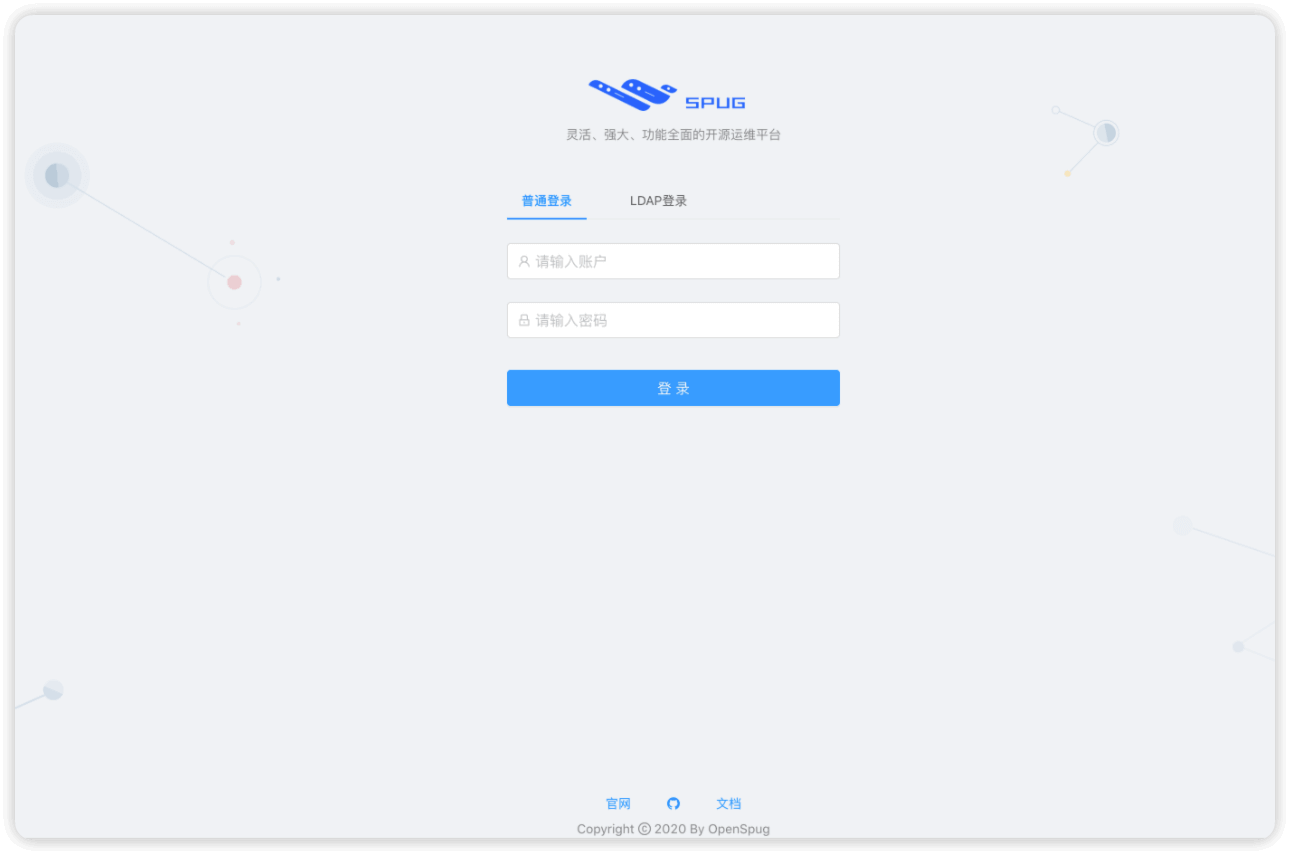
浏览器访问
用户名:admin
密码:spug.dev


1.4 关于nginx配置遇到的问题
问题一:主机console连接空白

原因:
这种情况大部分都是
Websocket连接建立失败了,一般出现在部署时自己加了一层 nginx 之类的代理工具,这些代理工具默认无法处理Weboscket请求, 这就需要你配置其支持转发Websocket请求
解决方法:
在nginx中配置如下内容
location ^~ /api/ws/ {
    proxy_pass http://127.0.0.1:8000;
    proxy_http_version 1.1;
    proxy_set_header Upgrade $http_upgrade;
    proxy_set_header Connection "Upgrade";
    proxy_set_header X-Real-IP $remote_addr;
  }
问题二:无法获取客户端真实IP以及spug console无法连接
在宿主机nginx中如果不配置
proxy_set_header X-Forwarded-For $proxy_add_x_forwarded_for;在登陆spug的时候就会提示无法获取客户端真实IP,但是配置了proxy_set_header X-Forwarded-For $proxy_add_x_forwarded_for;后可以获取客户端真实IP,然而确无法连接主机console
原因:
spug容器中已经有一层nginx做代理了
解决方法:
注释spug容器中nginx配置文件
/etc/nginx/nginx.conf中location ^~ /api/ws/下的proxy_set_header X-Forwarded-For $proxy_add_x_forwarded_for;

